The joy of flight in IL-2 Sturmovik flight simulator
Dance on to the sky and smile while riding a metal pheasant from the 1940’s, and resources for learning to fly in IL-2 Sturmovik.
More stability in my life after moving into a new apartment and a connection with two friends who share my excitement about flying and video games means a return to a childhood passion: Flight simulators, a type of computer software that helps one feel the experience of flying an aeroplane.
The best I have ever “flown”, in the sense of making you believe you are really flying, is IL-2 Sturmovik, originally published in 2001.
“All we need to do is just for maybe ten seconds, you believe you fly. This means we did everything okay.” —Albert Zhiltsov
IL-2 Sturmovik Battle of Stalingrad (IL-2 BOS) is the first map, dynamic campaign and collection of flying wood-metal-engine-and-guns contraptions in the third generation of the Sturmovik series, now known as IL-2 Great Battles.1
After spending some time with IL-2 BOS and overcoming difficulties lifting the plane off the ground, I decided to write a brief tutorial that might help someone interested in this excellent simulator. If you are still awake, dear reader, this possibly means you! Here we go.
-
Purchase and install IL-2 Sturmovik Battle of Stalingrad (also available on the Steam digital game distribution service, although the developers receive more well-deserved money if you buy it from their website.
Then, start the simulator by depressing your mouse button while the cursor hovers over its icon on your Windows PC computer (unfortunately IL-2 is only available on Windows at this point).
-
You can play with a mouse to control the flight stick and throttle, if you like, though a joystick, even a relatively cheap one, like the clunkly-named $50 T-Flight Hotas X Master of Thrust,
which I am using,(I now have a VKB Gladiator NXT), brings you closer to the experience of flying one of these propeller-propelled mechanical long-tailed game birds. -
If you want a better understanding of how these flying machines work, and to fly on some popular online servers with realistic flight settings, you need to learn a few obscure engine controls, which, by default, are mapped to awkward keyboard key combinations2. Because of this, I suggest remapping the keys for the following as follows:
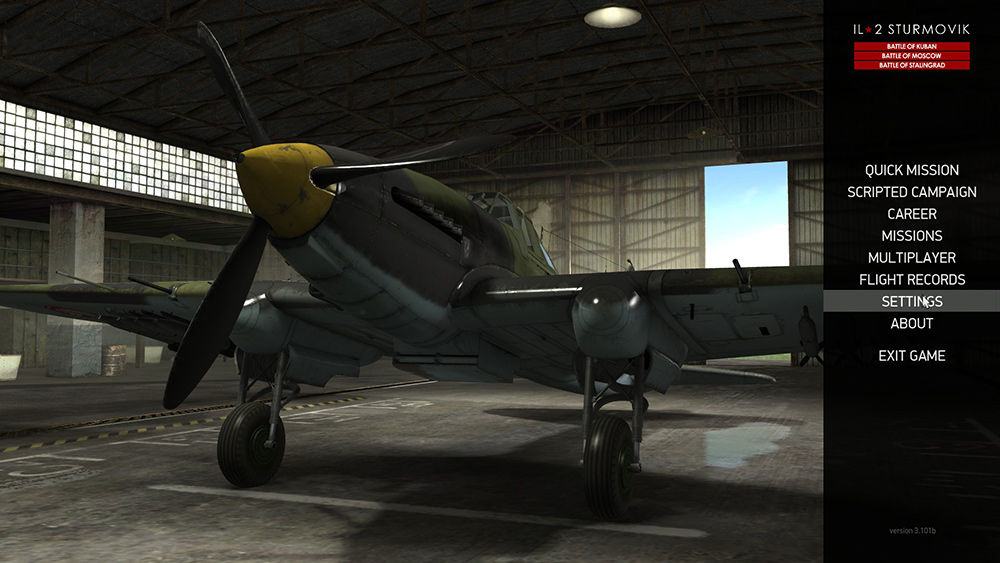
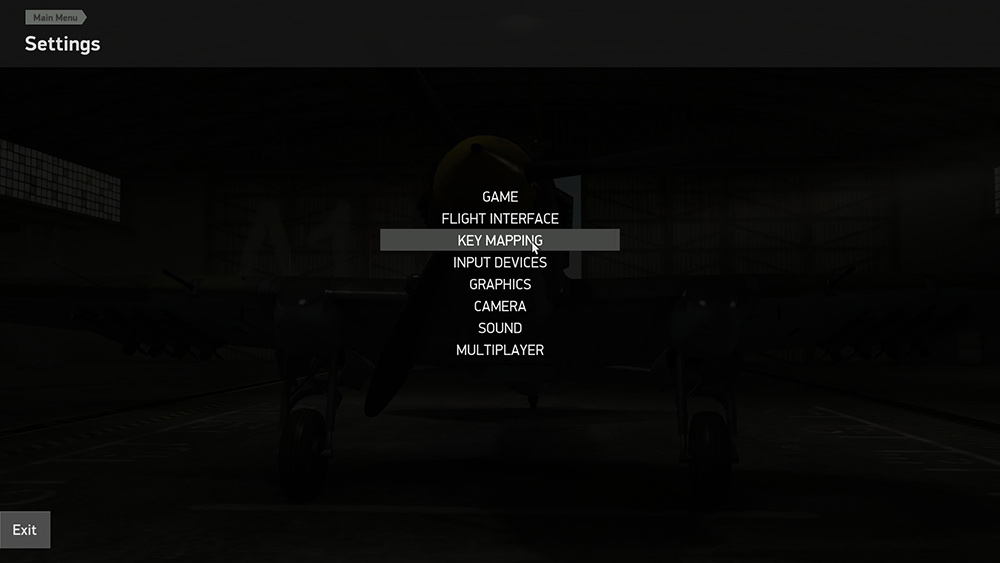
- Click Settings:
- Click Key Mapping:
- Click Plane controls, and set the following:
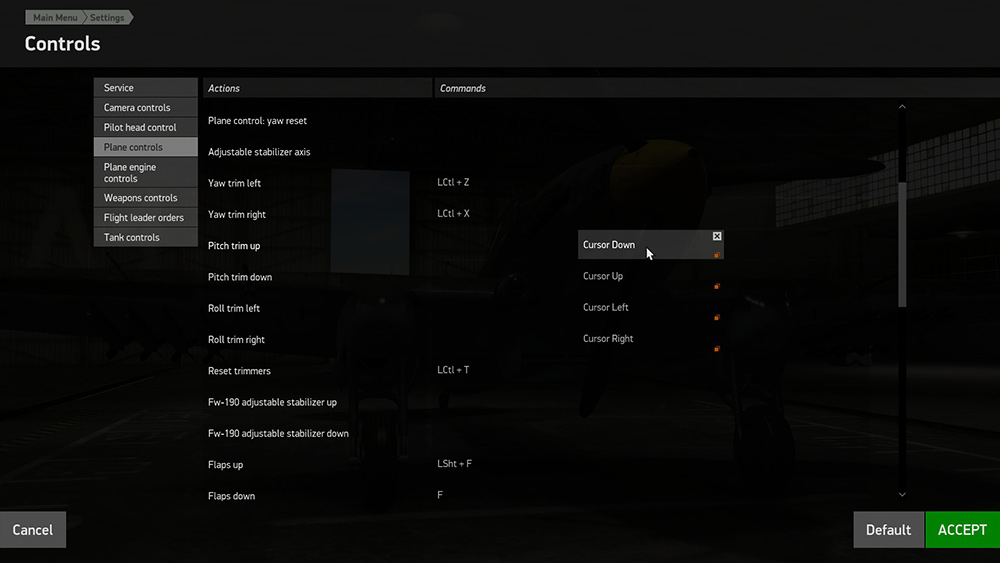
- Pitch trim up: Cursor Down (the ↓ down arrow key)
- Pitch trim down: Cursor Up (up ↑ arrow key)
- Roll trim left: Cursor Left (left ← arrow key)
- Roll trim right: Cursor Right (right → arrow key)
- Tail wheel lock/unlock: T
- Click Plane engine controls back on the 1st column and set the following:
- Engine mixture control: Right Shift + ↓ and Right Shift + ↑
- Propeller RPM control: Right Control + ↓ and Right Control + ↑
- Oil radiators shutters control axis: Right Alt + ↓ and Right Alt + ↑
- Water radiators shutters control axis: Left Alt + ↓ and Left Alt + ↑
- Click Settings:
-
Click the green Accept button on the bottom right to save all these settings, then Exit to go back to the home screen.
-
On the home screen, click Quick Mission.
-
Click on the lone airplane icon and select the Il-2 mod.1942 from the 1st dropdown menu and Parked from the 2nd dropdown:
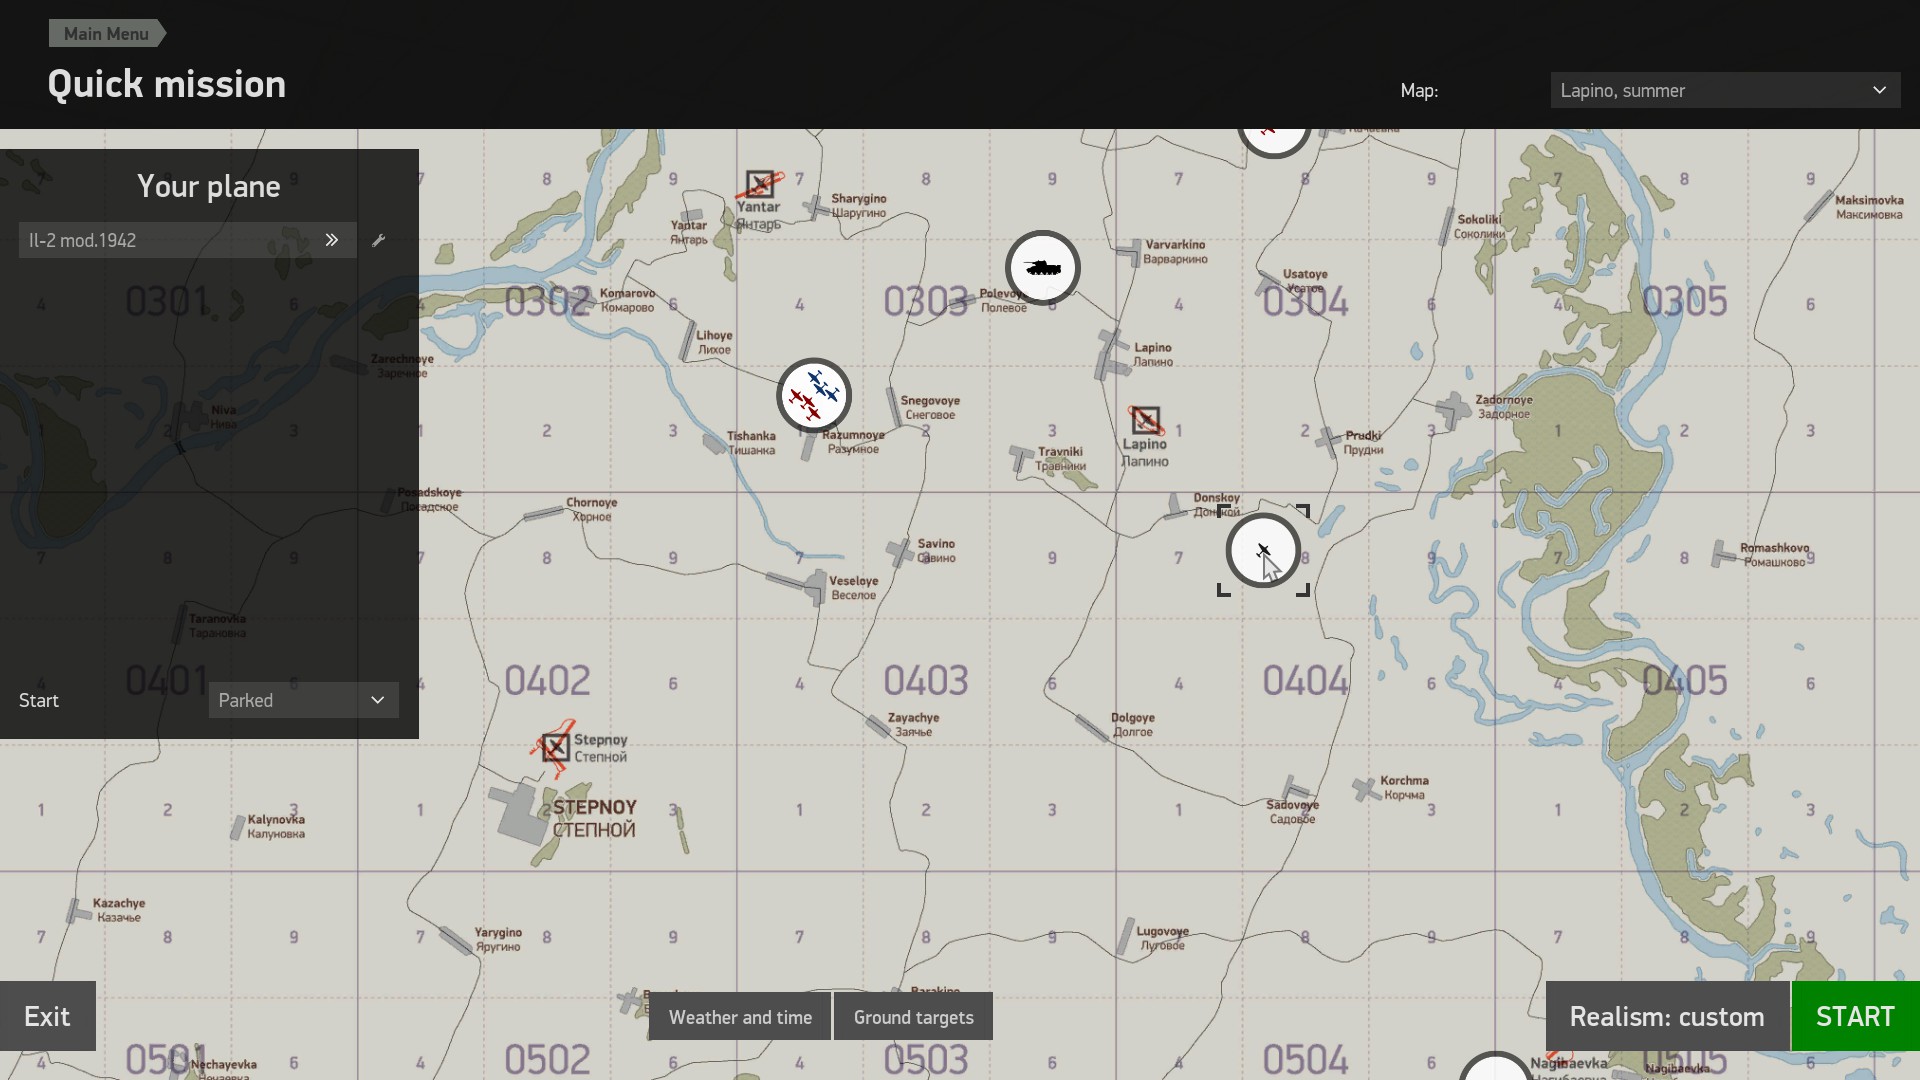
- Set time and weather to something beautiful, like 6:30am, with some low clouds, in a summer land bathed in the rays of our star:
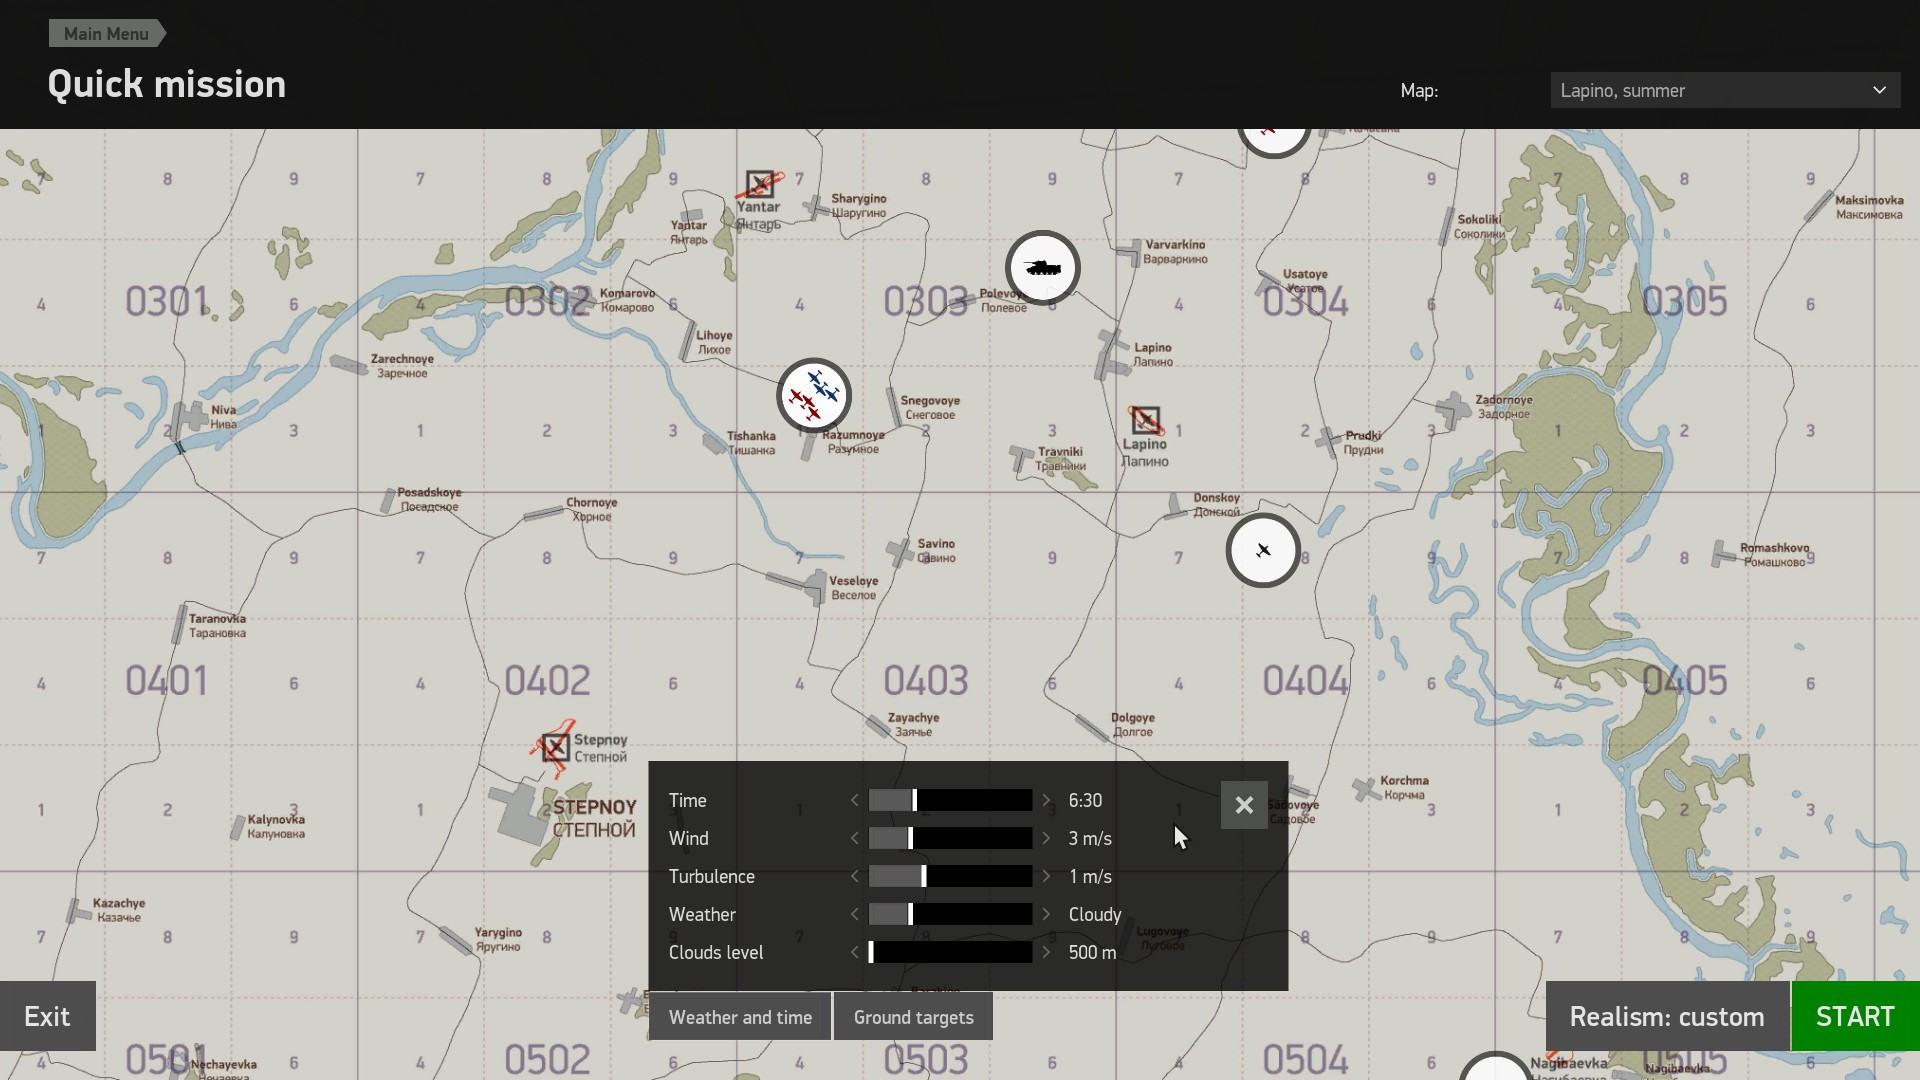
- Click on Realism, select custom and set it as follows:
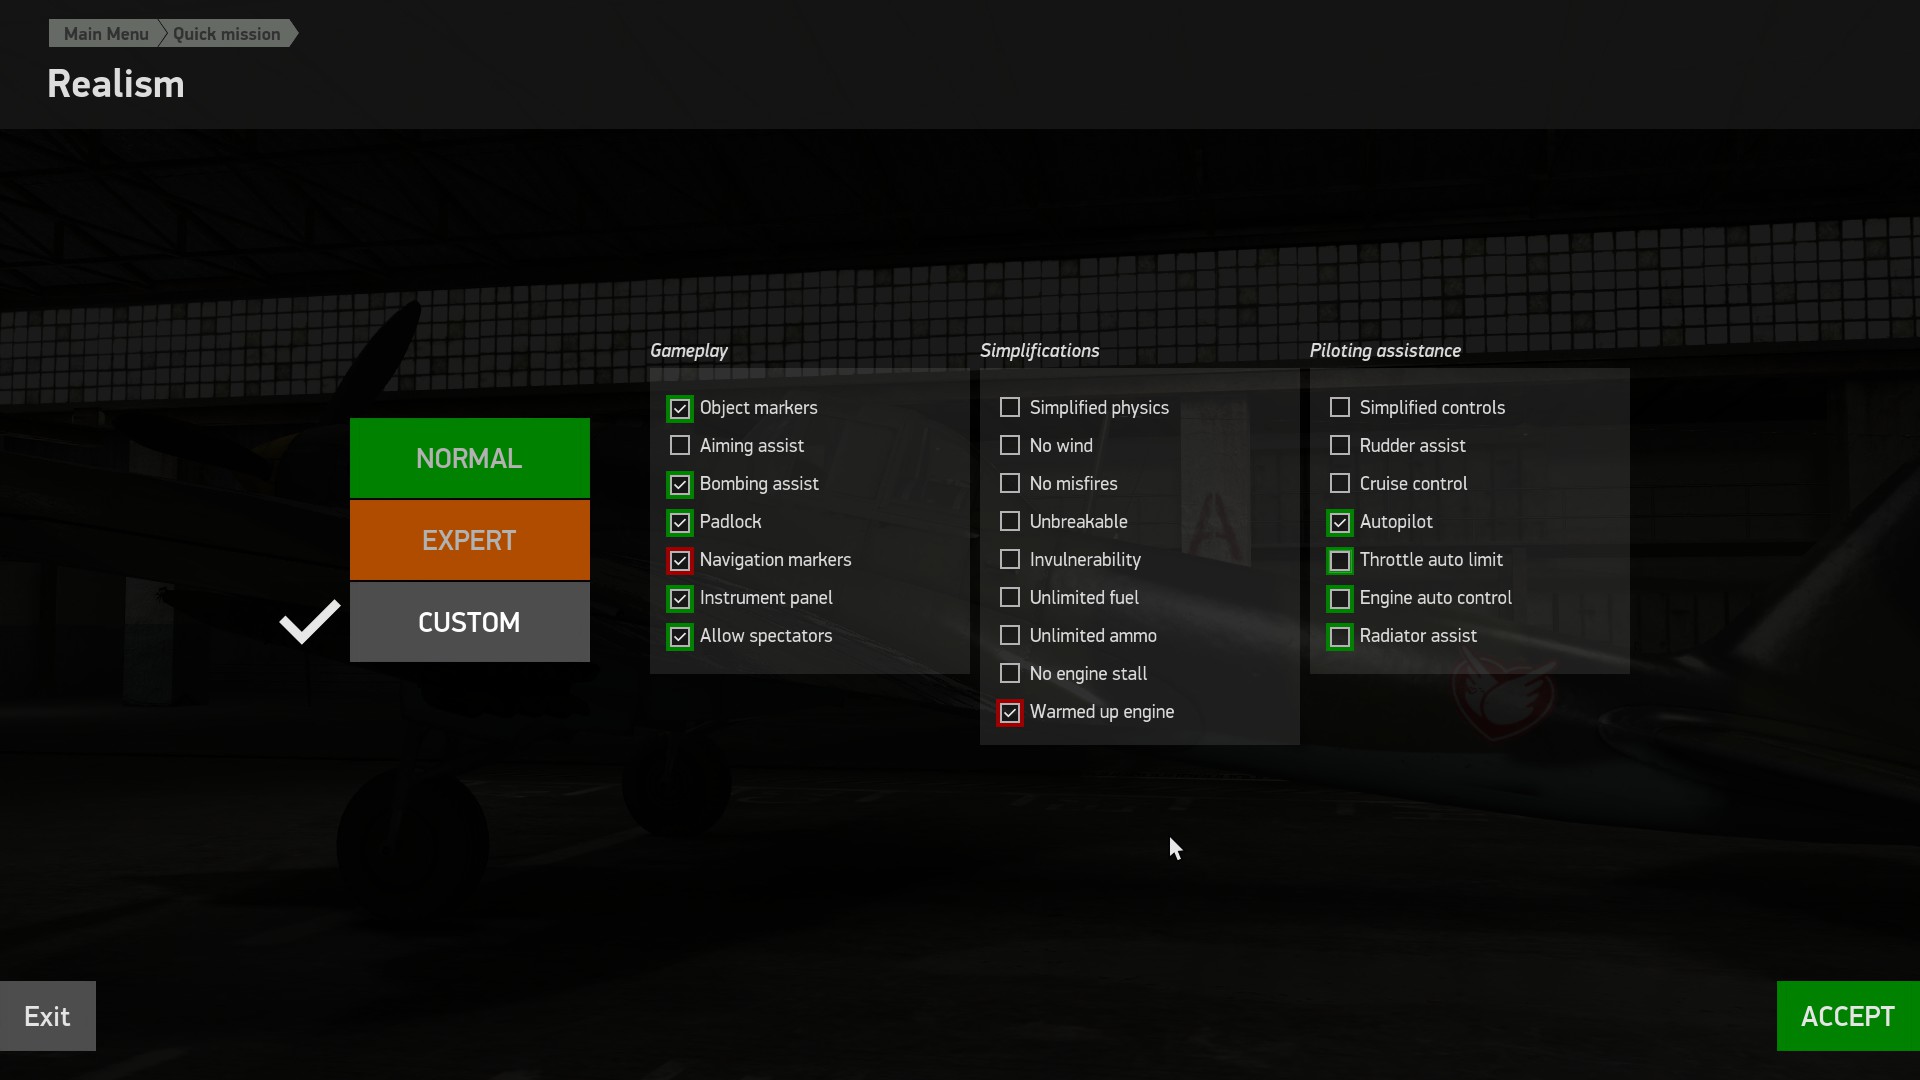 (I usually fly on Normal settings, and avoid all of these headaches when playing the single player game, but I wanted to play on popular multiplayer servers online that are haunted by pilots from long ago who have come back to life, and are cursed to fly their digital airplanes from grounded chairs and sofas, with realistic engine settings only, which is why I am writing this, for one or two of you, here, patiently following along, my dears).
Click the green Accept button, followed by the green Start, and the green Start, again, after reading the mission briefing and studying the aeroplane’s flight performance numbers, if you desire.
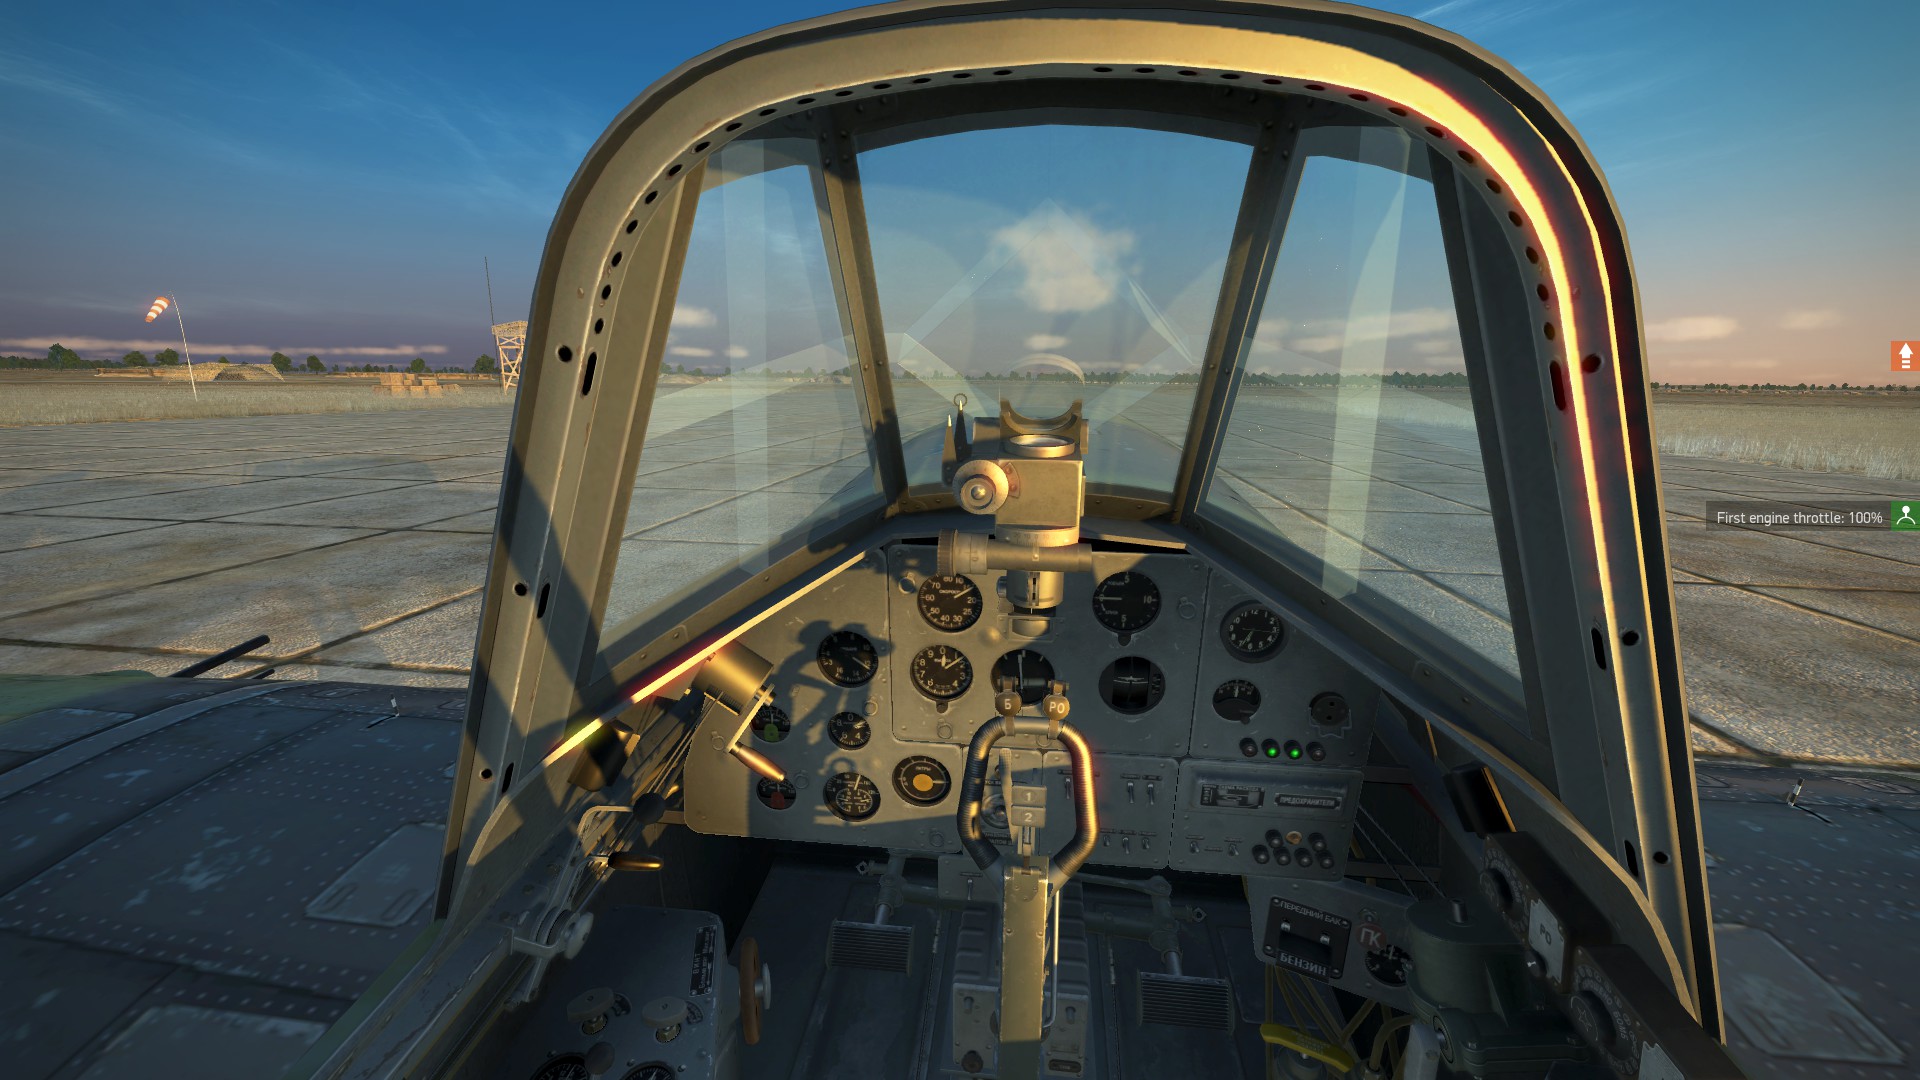
- Wonderful! You have taken your seat in the cockpit. Press P to unpause the simulation.
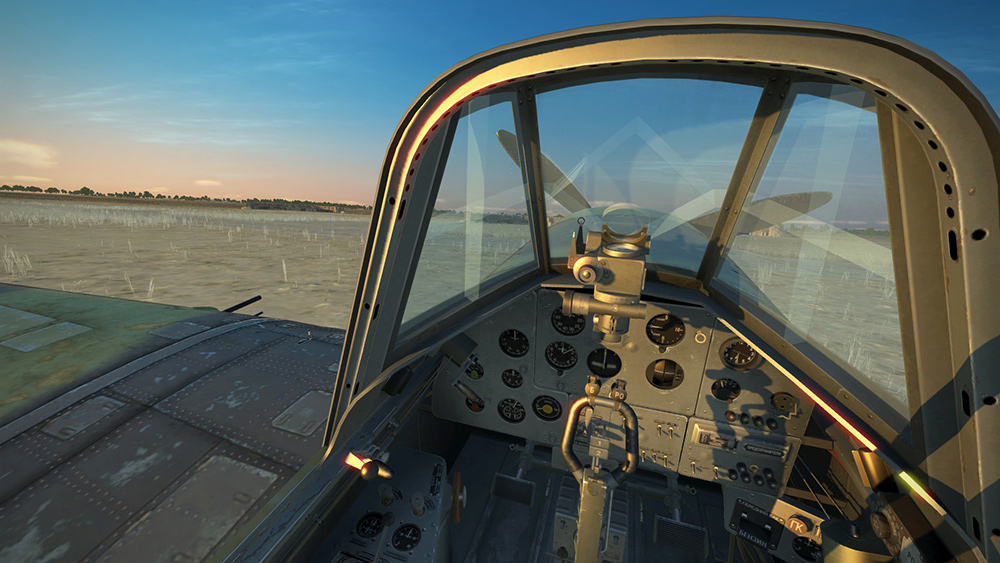
- Press E to activate the engine startup procedure. Feel free to look around inside the cockpit with the mouse to marvel at the ghostly switches moving in the correct sequence to bring your early-1940’s airplane to life.
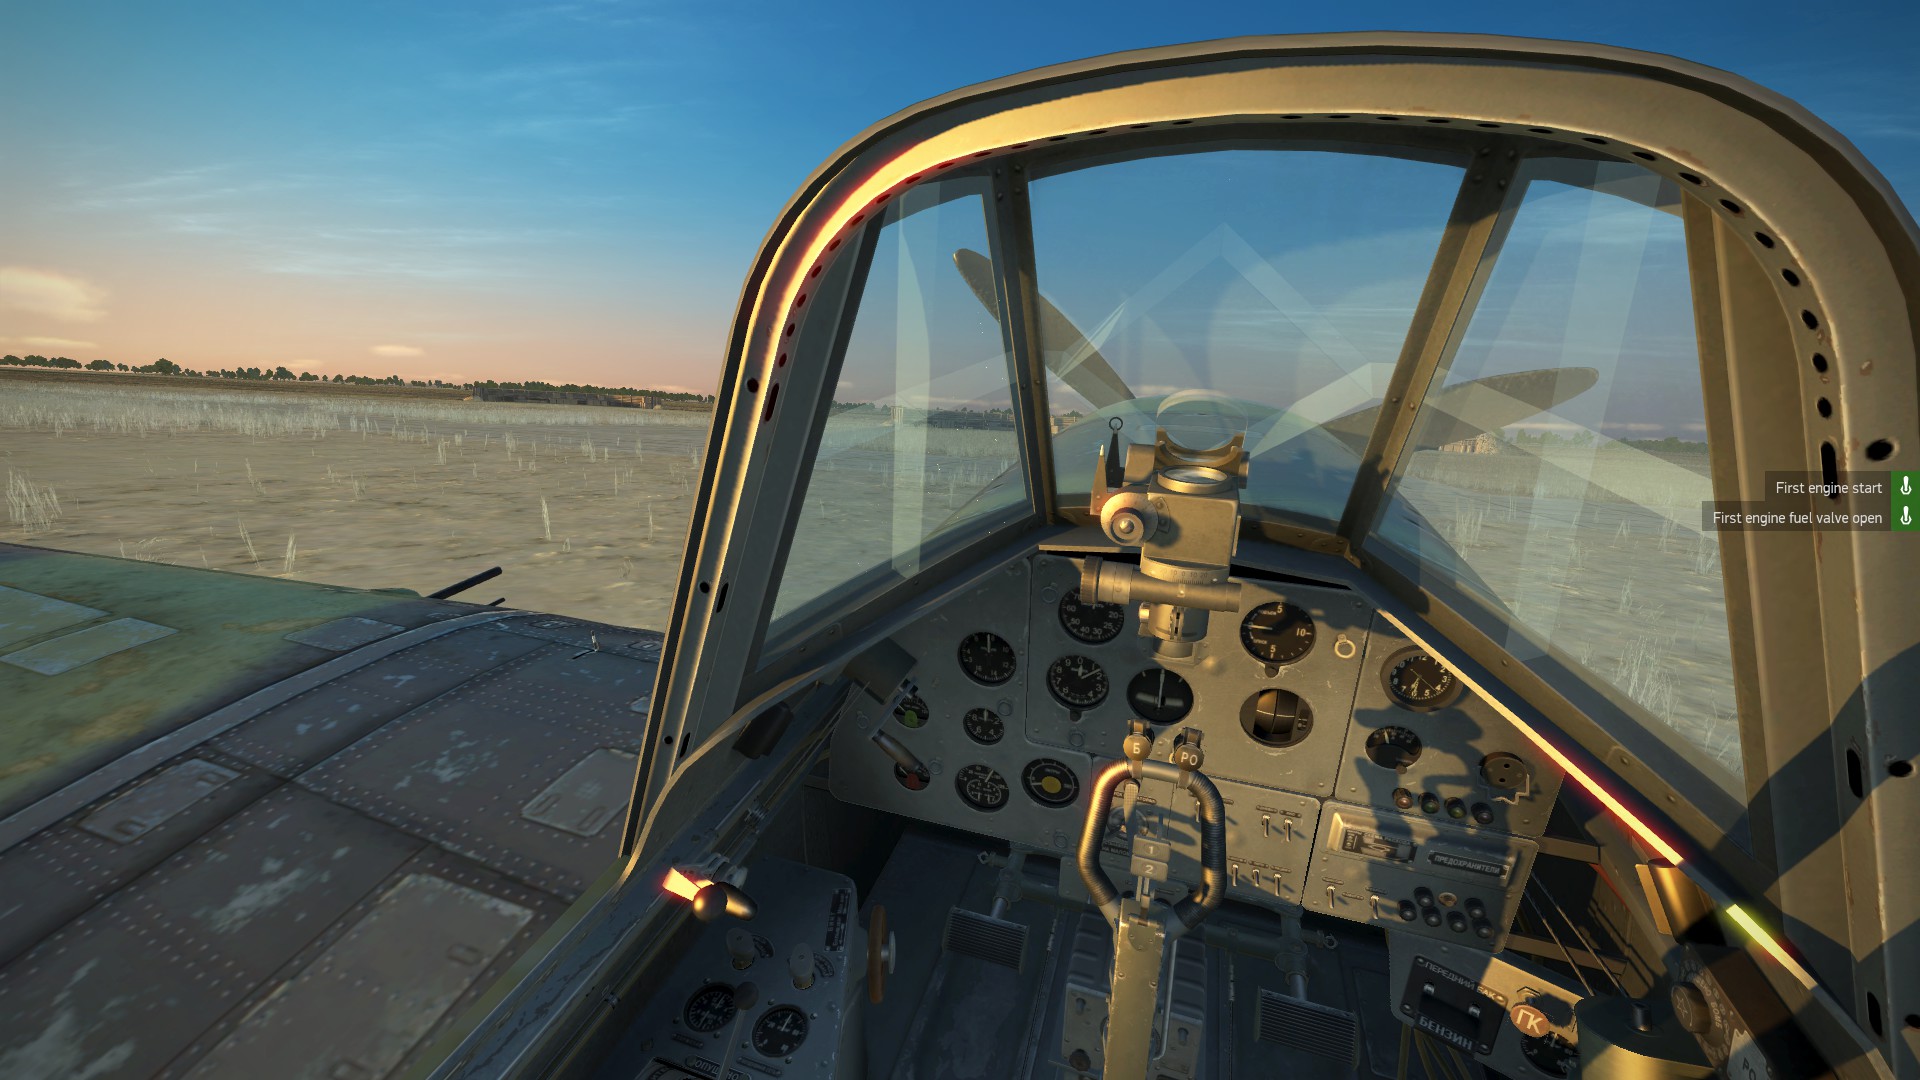
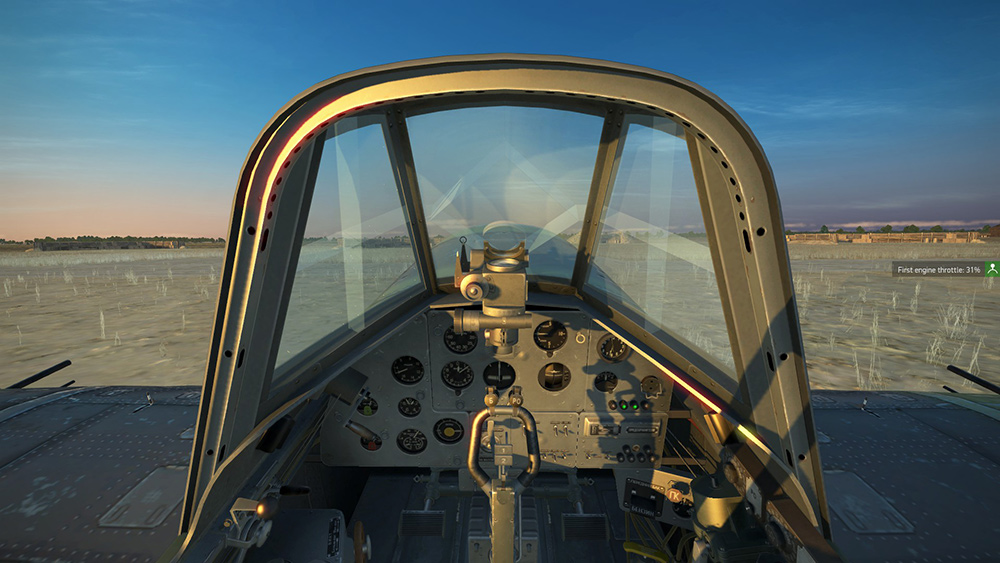
- Set the throttle (- and = on the keyboard) to around 30%, as the beast awakens and the propeller blades begin turning.
- Hold down the following key combinations, one at a time, to set all of the following to 100%:
- Engine mixture control: Right Shift + ↑ (This is the point at which your partner or your neighbors, if you are not wearing headphones, may yell for you to turn the damned volume down or put on your bloody headphones, which you should, just as real pilots, and people who are not imbeciles blasting aggressive sounds out of their cars in the street, do.)
- Propeller RPM control: Right Control + ↑
- Oil radiators shutters control axis: Right Alt + ↑
- Water radiators shutters control axis: Left Alt + ↑
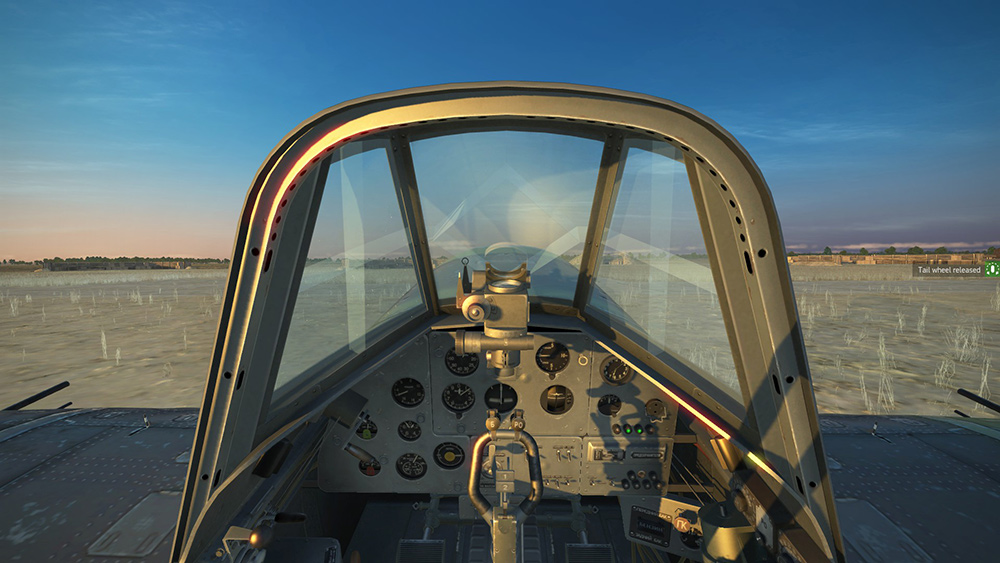
- Press T to release your tailwheel so you can dance and twirl with your winged machine using the rudders (a z-axis twist of your joystick to the left or right, or z and x keyboard keys). If you do not feel like dancing only on the ground, and wish to take off and tango in the sky, you need to be gentle, like a first dance at prom.
Light touch on throttle, only going above 50% initially to get onto the taxiway. Once you are on it, keep the throttle at around 30%, increasing throttle and using right rudder to turn right, decreasing throttle and using left rudder to turn left, while tapping your wheelbrake (/) as needed when the dancefloor becomes too hot, to keep the long whirly beak pointed where you mean to go.
Feel free to lock and unlock the tailwheel as needed with T if you do not need to turn for a while, and don’t be discouraged by the spins — this takes some practice. The main thing is to move slowly and be gentle with the throttle in combination with coordinated rudder and wheelbrake inputs.
- Once you finally make it to the runway, and are pointing straight down it, lock your tailwheel with T, hold your wheelbrake with /, then smoothly increase the throttle to maximum power, release the wheelbrake and be ready to use left-rudder (twist your joystick to the left or press Z) continuously to keep the nose of the lumbering metallic beast pointed the right way.
You will feel the tail become lighter at around 100km/h, at which point, while maintaining your pressure on right-rudder, you can gently push the stick forward to lift it off the ground, which will give you a better view of the runway so you can stay on it.
- Upon reaching around 170km/h, pull back gently on the stick, while maintaining pressure on right-rudder to keep the plane level. Press G to stow your landing gear, and hit Cursor Down ↓ a few times until your pitch trimmer is at around 70% and your nose is pointed just above the horizon.
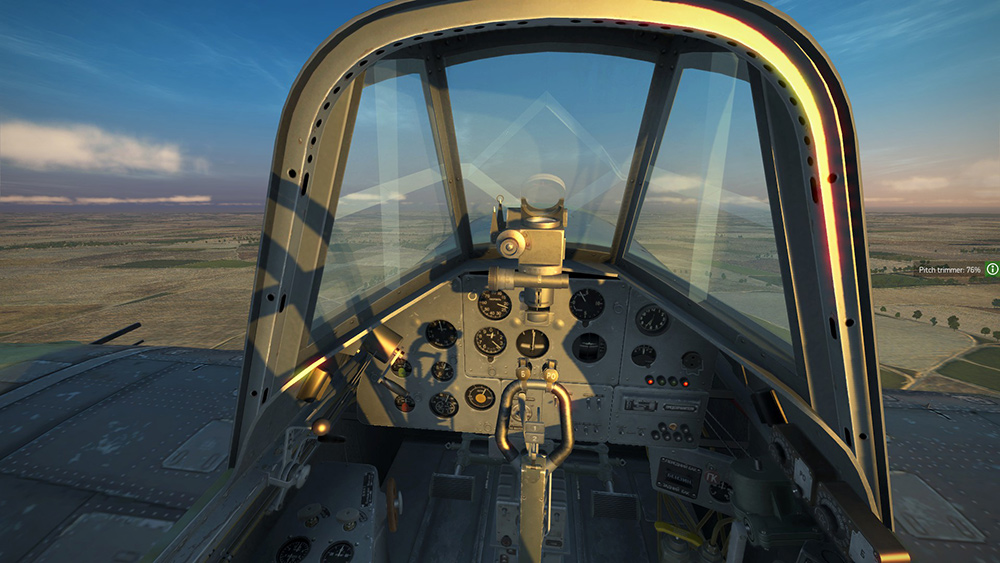
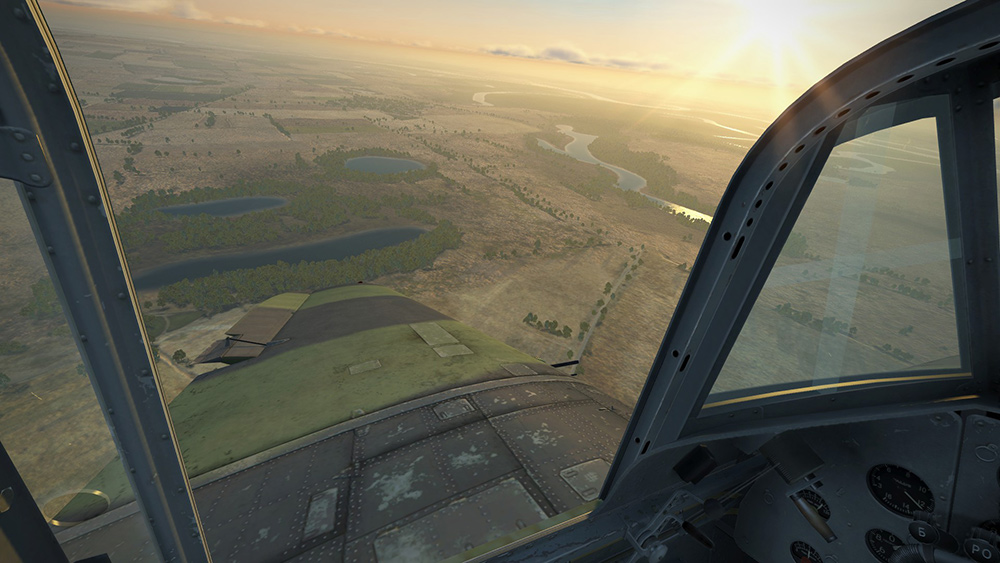
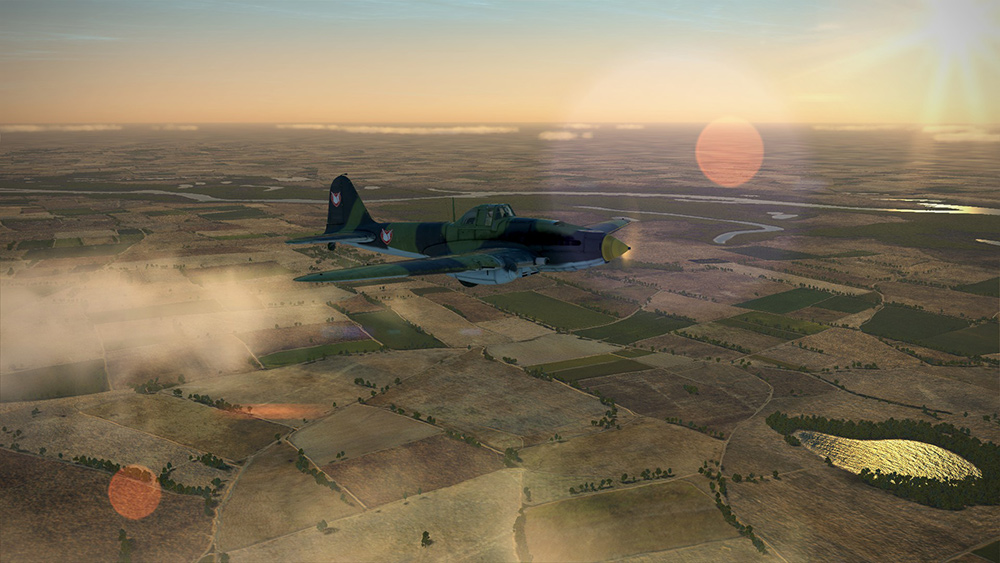
Contratulations! After a long dance, you are now flying! Look around with your mouse (or, in the future, with infrared head tracking, or a virtual reality headset for the ultimate experience), and admire the view.
Close your cockpit with Right Alt + C if you like, or keep it open, and fly through one of the fluffy clouds you see for some lovely morning moisture.
Don’t tell grouchy realisticos, but you can press F3 for a fly-by view, or F2 to admire your bird’s plummage.
Coming up soon: Landing your fabulous pheasant in a field to listen to birds and deliver mail, and one several wishes for IL-2 Sturmovik genies.
Resources for Learning to Fly in IL-2 Sturmovik
- IL-2 Sturmovik video game manuals.
- IL-2 Sturmovik default keyboard bindings PDF and a spreadsheet that includes a table showing plane-specific controls.
- A real IL-2 Sturmovik flight manual from 1942, translated to English.
- Cockpit photos as checklists to help us learn to fly each plane without burning out the engine.
- Requiem’s excellent air combat video tutorial library.
- Flight school campaigns.
- Pat Wilson’s Dynamic Campaign Generator.
- SYN_Vander’s Easy Mission Generator.
- IL-2 Sturmovik mission editor and multiplayer server manual.
- Airplane skin | livery | paint templates.
- Joystick visualizer for streamers.
- Houndstone_Hawk’s Single Player and coop training missions.
- The Exile custom single player mission set in an alternate reality where Stauffenberg’s assassination attempt in July 1944 was successful and you fly as a privateer in the “Wild East”.
- Interactive Playground missions by Stoopy.
Nota bene: Missions made in earlier versions of IL-2 often need to be loaded up in the mission editor and resaved to work in later versions. Here’s how to do this:
- IL-2 mission editor is usually located at
Install_Drive_Letter:\Program Files (x86)\Steam\steamapps\common\IL-2 Sturmovik Battle of Stalingrad\bin\editor - Click on steditor, which will load the mission editor.
- BOSE Editor → Tools → resave all missions in folder → choose each folder and go.
-
Battle of Moscow and Battle of Kuban are also available, and a fourth, Battle of Bodenplatte,
is arriving later this yeararrived! Detailed information is available about these, along with a list of the flying machines in each. ↩︎ -
I may have a strange keyboard (Logitech G413), which seems to not be recognized correctly by the game, so feel free to ignore the remapping section of the tutorial and follow along with the keys in this excellent PDF instead. ↩︎
· ˖ ✦ . ˳
Come with me in creative journeys through music and play by subscribing to my YouTube and Twitch channels. ❤︎ Did you enjoy this post? You can buy me a moment of time.
Possibly Related:
- The Joy of Streaming IL-2 Sturmovik Flight Simulator
- The Daydreamer
- IL-2 Sturmovik Update 4.009
- Combat air mail
- Aviassembly
˳ · ˖
Prior entry: Flyby for D-Day 75th
Next entry: Microsoft Flight Simulator 2020